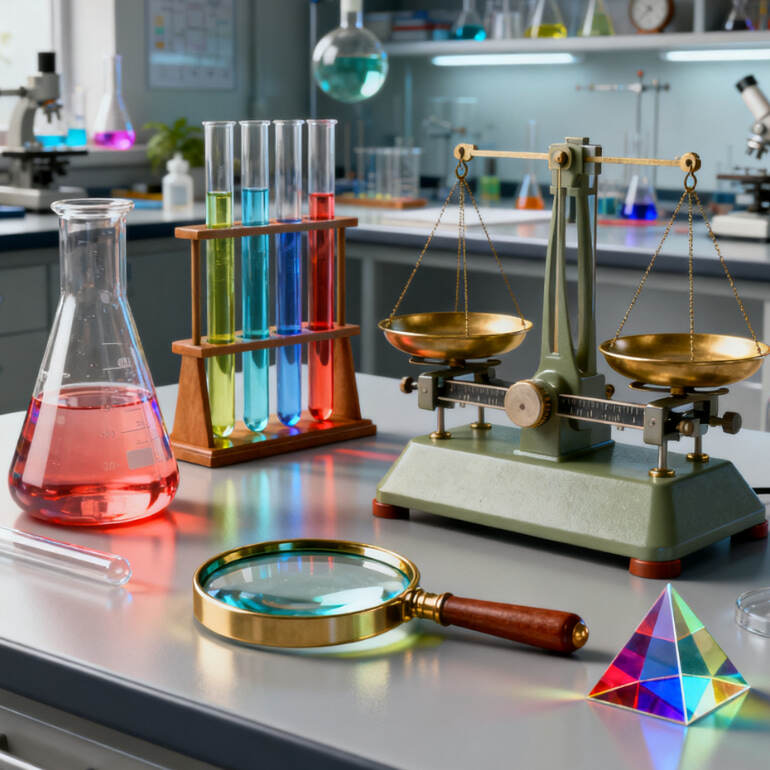
Science education comes alive when students get their hands on real tools and materials. school laboratory equipment forms the backbone of practical learning, transforming abstract concepts from textbooks into observable, measurable phenomena. Whether you are a teacher designing curriculum or a student eager to explore, understanding how to use basic lab tools creatively can open doors to genuine scientific discovery. The beauty of foundational equipment is that even the simplest setup can yield powerful, memorable learning moments.
Many educators underestimate what can be achieved with standard school laboratory equipment that is already available in most classroom settings. A conical flask, a Bunsen burner, some basic reagents, and a few measuring tools are often all that is needed to conduct experiments that genuinely challenge students to think, hypothesize, and observe. This article explores a range of creative experiments that make excellent use of common lab supplies, helping educators and students get far more out of what they already have.
Understanding the Value of Basic School Laboratory Equipment
Why Simple Tools Produce Rich Learning Outcomes
There is a persistent misconception that meaningful science requires expensive, high-tech instruments. In reality, the most enduring scientific principles were discovered using remarkably modest tools. Basic school laboratory equipment such as beakers, test tubes, pipettes, and conical flasks has been at the center of chemistry and biology education for generations. When students learn to work carefully and methodically with these foundational instruments, they build habits of precision and observation that underpin all scientific thinking.
The tactile experience of handling glass vessels, measuring liquids carefully, and monitoring reactions in real time cannot be replicated by simulations alone. School laboratory equipment provides a physical anchor to scientific concepts. A student who has personally witnessed a color-change reaction in a conical flask will retain that knowledge far longer than one who only read about it. The simplicity of the tools also ensures that the focus remains on the scientific process rather than on operating complicated machinery.
Furthermore, working with standard school laboratory equipment builds confidence. Students who master basic glassware and measuring tools develop a sense of competence that encourages them to ask deeper questions. Confidence with tools directly translates into willingness to experiment, hypothesize, and take scientific risks, which are all hallmarks of genuine scientific inquiry.
The Core Items Found in Most School Labs
Most educational institutions stock a core set of school laboratory equipment that covers the fundamentals. This typically includes conical flasks, beakers, graduated cylinders, test tubes and racks, Bunsen burners, thermometers, measuring scales, stirring rods, and dropper bottles. Each of these tools serves multiple purposes and can be combined in creative ways to suit a wide variety of experimental designs.
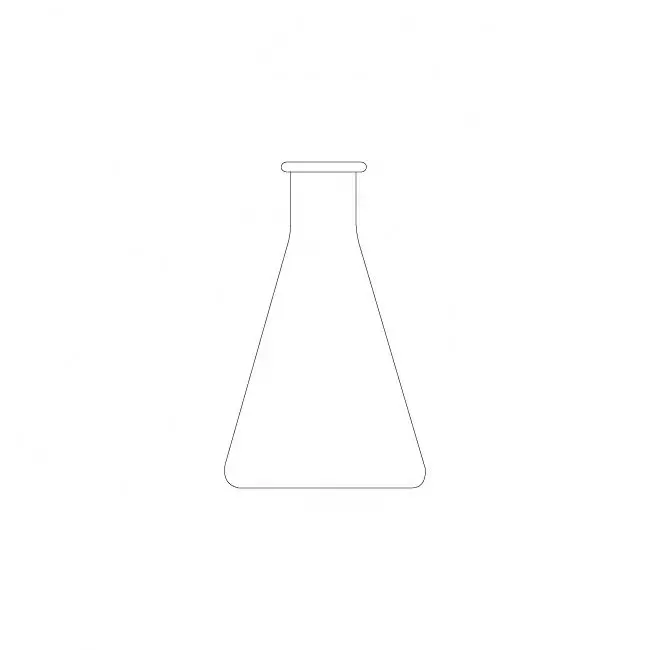
The conical flask, for example, is one of the most versatile items in any set of school laboratory equipment. Its tapered neck prevents spills during mixing, makes it ideal for titration experiments, and allows gas to be collected or released in a controlled manner. A well-equipped school lab that maintains its basic glassware in good condition already has everything needed to explore acid-base chemistry, reaction rates, and even simple biological processes. You can explore high-quality options such as the school laboratory equipment available for educational institutions seeking reliable glassware.
Understanding what each piece of school laboratory equipment is truly capable of is the first step toward designing creative and effective experiments. Teachers who take the time to explore the full range of applications for each tool will find themselves limited only by imagination rather than by resources.
Creative Chemistry Experiments With Everyday Lab Tools
Color-Change Reactions Using Indicators
One of the most visually captivating experiments achievable with standard school laboratory equipment involves acid-base indicator reactions. By preparing a dilute solution of red cabbage juice, which acts as a natural pH indicator, students can observe dramatic color changes simply by adding common household acids and bases. Using a series of conical flasks or beakers labeled with different solutions, the experiment becomes a vibrant demonstration of the pH scale in action.
This type of experiment works exceptionally well because it requires minimal specialized school laboratory equipment beyond basic glassware and measuring tools. Students can test vinegar, baking soda solution, lemon juice, and soap water, recording each color change and plotting the results on a pH scale. The experiment teaches quantitative thinking, careful observation, and the importance of controlled variables, all through a setup that is both affordable and visually striking.
Teachers can extend this experiment by asking students to predict the color each solution will produce before testing it, introducing the concept of hypothesis formation. The use of multiple flasks as part of the school laboratory equipment setup also teaches the principle of running parallel conditions simultaneously, a practice central to real scientific research methodology.
Reaction Rate Investigations
Investigating how temperature, concentration, or surface area affects reaction rates is another area where basic school laboratory equipment produces rich results. A classic approach involves the reaction between sodium thiosulfate and hydrochloric acid, where students measure how long it takes for the reaction mixture to become cloudy enough to obscure a mark drawn on a piece of paper beneath the flask. Varying the temperature of the reactants using a water bath and thermometer gives students direct, measurable data on how heat accelerates reaction rates.
This experiment requires nothing beyond standard school laboratory equipment: a conical flask, measuring cylinders, a stopwatch, a thermometer, and basic chemical reagents. Yet the data it produces is sophisticated enough to introduce students to the concept of activation energy and collision theory. Students learn that real scientific conclusions emerge not from single observations but from patterns in repeated, controlled measurements.
A creative variation involves testing the effect of concentration rather than temperature. By preparing dilutions of different strengths using only measuring cylinders and a set of conical flasks from the available school laboratory equipment, students can construct a graph showing the relationship between concentration and reaction speed. This reinforces quantitative reasoning skills and introduces students to the idea of proportional relationships in chemistry.
Biology and Life Science Experiments With Simple Tools
Osmosis and Diffusion Demonstrations
Biology experiments using school laboratory equipment do not always require microscopes or complex biological supplies. Osmosis can be demonstrated effectively using nothing more than beakers, solutions of different salt concentrations, and raw potato cubes. Students cut potato samples to equal sizes, submerge them in different salt solutions, and measure mass changes after a set period. The results clearly show how water moves across semi-permeable membranes in response to concentration gradients.
This experiment is particularly effective because it ties a cellular process to a macroscopic, measurable outcome. Students use the school laboratory equipment they already know, measuring scales, beakers, and timers, but apply them to a biological question. The experiment is easy to replicate, which allows students to practice the scientific skill of repeated measurement and averaging, reducing experimental error in their findings.
Adding a layer of creativity, teachers can ask students to design their own experiment to test osmosis in a different biological material, such as cucumber slices or red onion cells. This open-ended approach encourages students to think about how standard school laboratory equipment can be adapted to new research questions, building independence and experimental design skills simultaneously.
Photosynthesis Rate Experiments
Measuring the rate of photosynthesis using aquatic plant material and basic school laboratory equipment is another experiment that combines simplicity with scientific depth. Students place sprigs of aquatic plants such as Elodea into beakers of water and count the number of oxygen bubbles produced per minute under different light intensities. Changing the distance between the light source and the beaker varies light intensity in a controlled and measurable way.
The experiment requires only beakers, a ruler, a stopwatch, and a light source, all of which are part of standard school laboratory equipment in most school labs. Students learn to control variables, count repeated events, and draw conclusions from graphed data. The direct observation of a living process occurring in real time, driven by a physical variable they are controlling, makes the abstract concept of photosynthesis immediately tangible and memorable.
A creative extension involves adding sodium bicarbonate to the water to increase the availability of carbon dioxide, allowing students to investigate a second variable. This teaches students that real experiments often involve exploring multiple interacting factors, and that basic school laboratory equipment is flexible enough to support multi-variable investigations without requiring any additional tools.
Physics Experiments That Showcase Measurement Precision
Density and Buoyancy Investigations
Physics concepts such as density and buoyancy can be explored effectively using common school laboratory equipment. Students can calculate the density of various solid objects and liquids using nothing more than a measuring scale, a graduated cylinder, and water. By measuring the mass of an object and then using water displacement to determine its volume, students apply the density formula directly to tangible materials, making an abstract formula concrete and meaningful.
This type of experiment is ideal for illustrating precision and accuracy in measurement. Small errors in reading the graduated cylinder produce noticeable discrepancies in calculated density, teaching students why careful technique matters. The use of everyday school laboratory equipment to arrive at a real physical property of a material is a powerful demonstration that science is not about mystery but about careful, systematic measurement.
A creative variation involves testing whether different liquids have different densities by layering them in a tall beaker or measuring cylinder. Vegetable oil, water, and a saline solution, for example, will form distinct layers if poured carefully, allowing students to rank the liquids by density without any complex school laboratory equipment beyond basic glassware. This visual result is memorable and stimulates deeper questions about molecular structure and intermolecular forces.
Heat Conduction Comparisons
Using thermometers, beakers, and a Bunsen burner, students can design experiments to compare the heat conduction properties of different materials. By inserting rods or strips of different metals into a beaker of hot water and measuring the temperature change at the other end over time, students gather data on thermal conductivity in a straightforward and safe way. This uses school laboratory equipment creatively by applying heating and measuring tools to a physical properties investigation rather than a chemical one.
The experiment also reinforces important safety habits around the use of school laboratory equipment involving heat sources. Students learn to handle thermometers correctly, understand the dangers of sudden temperature changes in glass, and appreciate why certain lab protocols exist. Safety education delivered in the context of an interesting experiment is far more effective than abstract rule-reading.
Teachers who want to extend this experiment can ask students to design insulation tests using available materials, wrapping beakers in different substances to see which best retains heat. This type of open-ended design challenge develops engineering thinking alongside science skills and makes excellent use of the full range of school laboratory equipment available in a typical school lab.
Designing Student-Led Experiments With Available Resources
Encouraging Student Ownership of the Scientific Process
One of the most effective approaches in science education is inviting students to design their own experiments using whatever school laboratory equipment is available to them. Rather than following a prescribed procedure step by step, students formulate their own research question, identify the variables they will control, and plan their method independently. This approach develops higher-order thinking and gives students a genuine stake in the outcome of their work.
Providing students with a curated selection of school laboratory equipment, such as a set of flasks, measuring tools, a few common reagents, and a light source, and asking them to design an experiment to answer a broad question, produces remarkable results. Students who are given ownership over their experimental design often demonstrate creativity and rigor that exceeds what they achieve when following prescribed instructions. The freedom to explore turns routine lab work into genuine inquiry.
The teacher's role in this approach shifts from instructor to mentor, guiding students in refining their hypotheses, identifying potential sources of error, and interpreting their results critically. This model of using school laboratory equipment as a platform for student-driven inquiry mirrors how professional scientists actually work, making it one of the most authentic forms of science education available at the school level.
Connecting Experiments to Real-World Applications
Creative use of school laboratory equipment becomes even more powerful when experiments are explicitly linked to real-world problems and applications. A reaction rate investigation, for example, can be framed around the question of how food preservation works. A density experiment can be connected to how engineers design ships or life jackets. Photosynthesis experiments can be tied to discussions of climate change and the role of vegetation in carbon cycling.
These contextual connections transform the perception of school laboratory equipment from tools used in academic exercises into instruments used to explore genuinely important questions. Students who understand why they are conducting an experiment are significantly more motivated than those who are simply following procedural steps. Motivation, in turn, leads to deeper engagement, more careful observation, and higher quality scientific thinking.
Schools that invest in maintaining good quality school laboratory equipment and in training teachers to use it creatively see measurable differences in student outcomes. The experiments described throughout this article are designed to be achievable with standard resources while simultaneously challenging students to think at a high level. The combination of accessible tools and ambitious educational goals is precisely what makes practical science education so valuable and enduring.
FAQ
What are the most versatile pieces of school laboratory equipment for creative experiments?
Conical flasks, graduated cylinders, beakers, and thermometers are among the most versatile items in standard school laboratory equipment. These tools can be used across chemistry, biology, and physics experiments, making them central to a wide range of creative setups. Their adaptability means that a well-stocked lab with these basics can support dozens of different experimental designs without requiring additional specialized tools.
How can teachers make experiments more engaging without buying new school laboratory equipment?
The key is in how experiments are framed and facilitated rather than in the tools themselves. Encouraging student-designed investigations, connecting experiments to real-world applications, and incorporating open-ended questions transforms standard school laboratory equipment into a platform for genuine inquiry. Teachers can also rotate between different types of experiments to ensure students encounter a variety of scientific disciplines and methods throughout the year.
Is glass laboratory equipment safe for school-age students?
Glass school laboratory equipment is safe for school-age students when proper protocols are followed. Students should be trained in safe handling techniques before beginning any experiment, including how to carry glassware, avoid sudden temperature changes, and respond to breakage. Borosilicate glass, which is standard in quality educational glassware, is significantly more resistant to thermal shock than ordinary glass, making it far more suitable for school use.
How does using basic school laboratory equipment support curriculum standards?
Most science curriculum standards place significant emphasis on practical skills, experimental design, and data interpretation. Regular use of school laboratory equipment allows students to develop and demonstrate all of these competencies in a hands-on context. Experiments that use basic tools to explore fundamental principles align naturally with the scientific method content found in national and regional curriculum frameworks, ensuring that creative lab work is also academically rigorous.
Table of Contents
- Understanding the Value of Basic School Laboratory Equipment
- Creative Chemistry Experiments With Everyday Lab Tools
- Biology and Life Science Experiments With Simple Tools
- Physics Experiments That Showcase Measurement Precision
- Designing Student-Led Experiments With Available Resources
-
FAQ
- What are the most versatile pieces of school laboratory equipment for creative experiments?
- How can teachers make experiments more engaging without buying new school laboratory equipment?
- Is glass laboratory equipment safe for school-age students?
- How does using basic school laboratory equipment support curriculum standards?